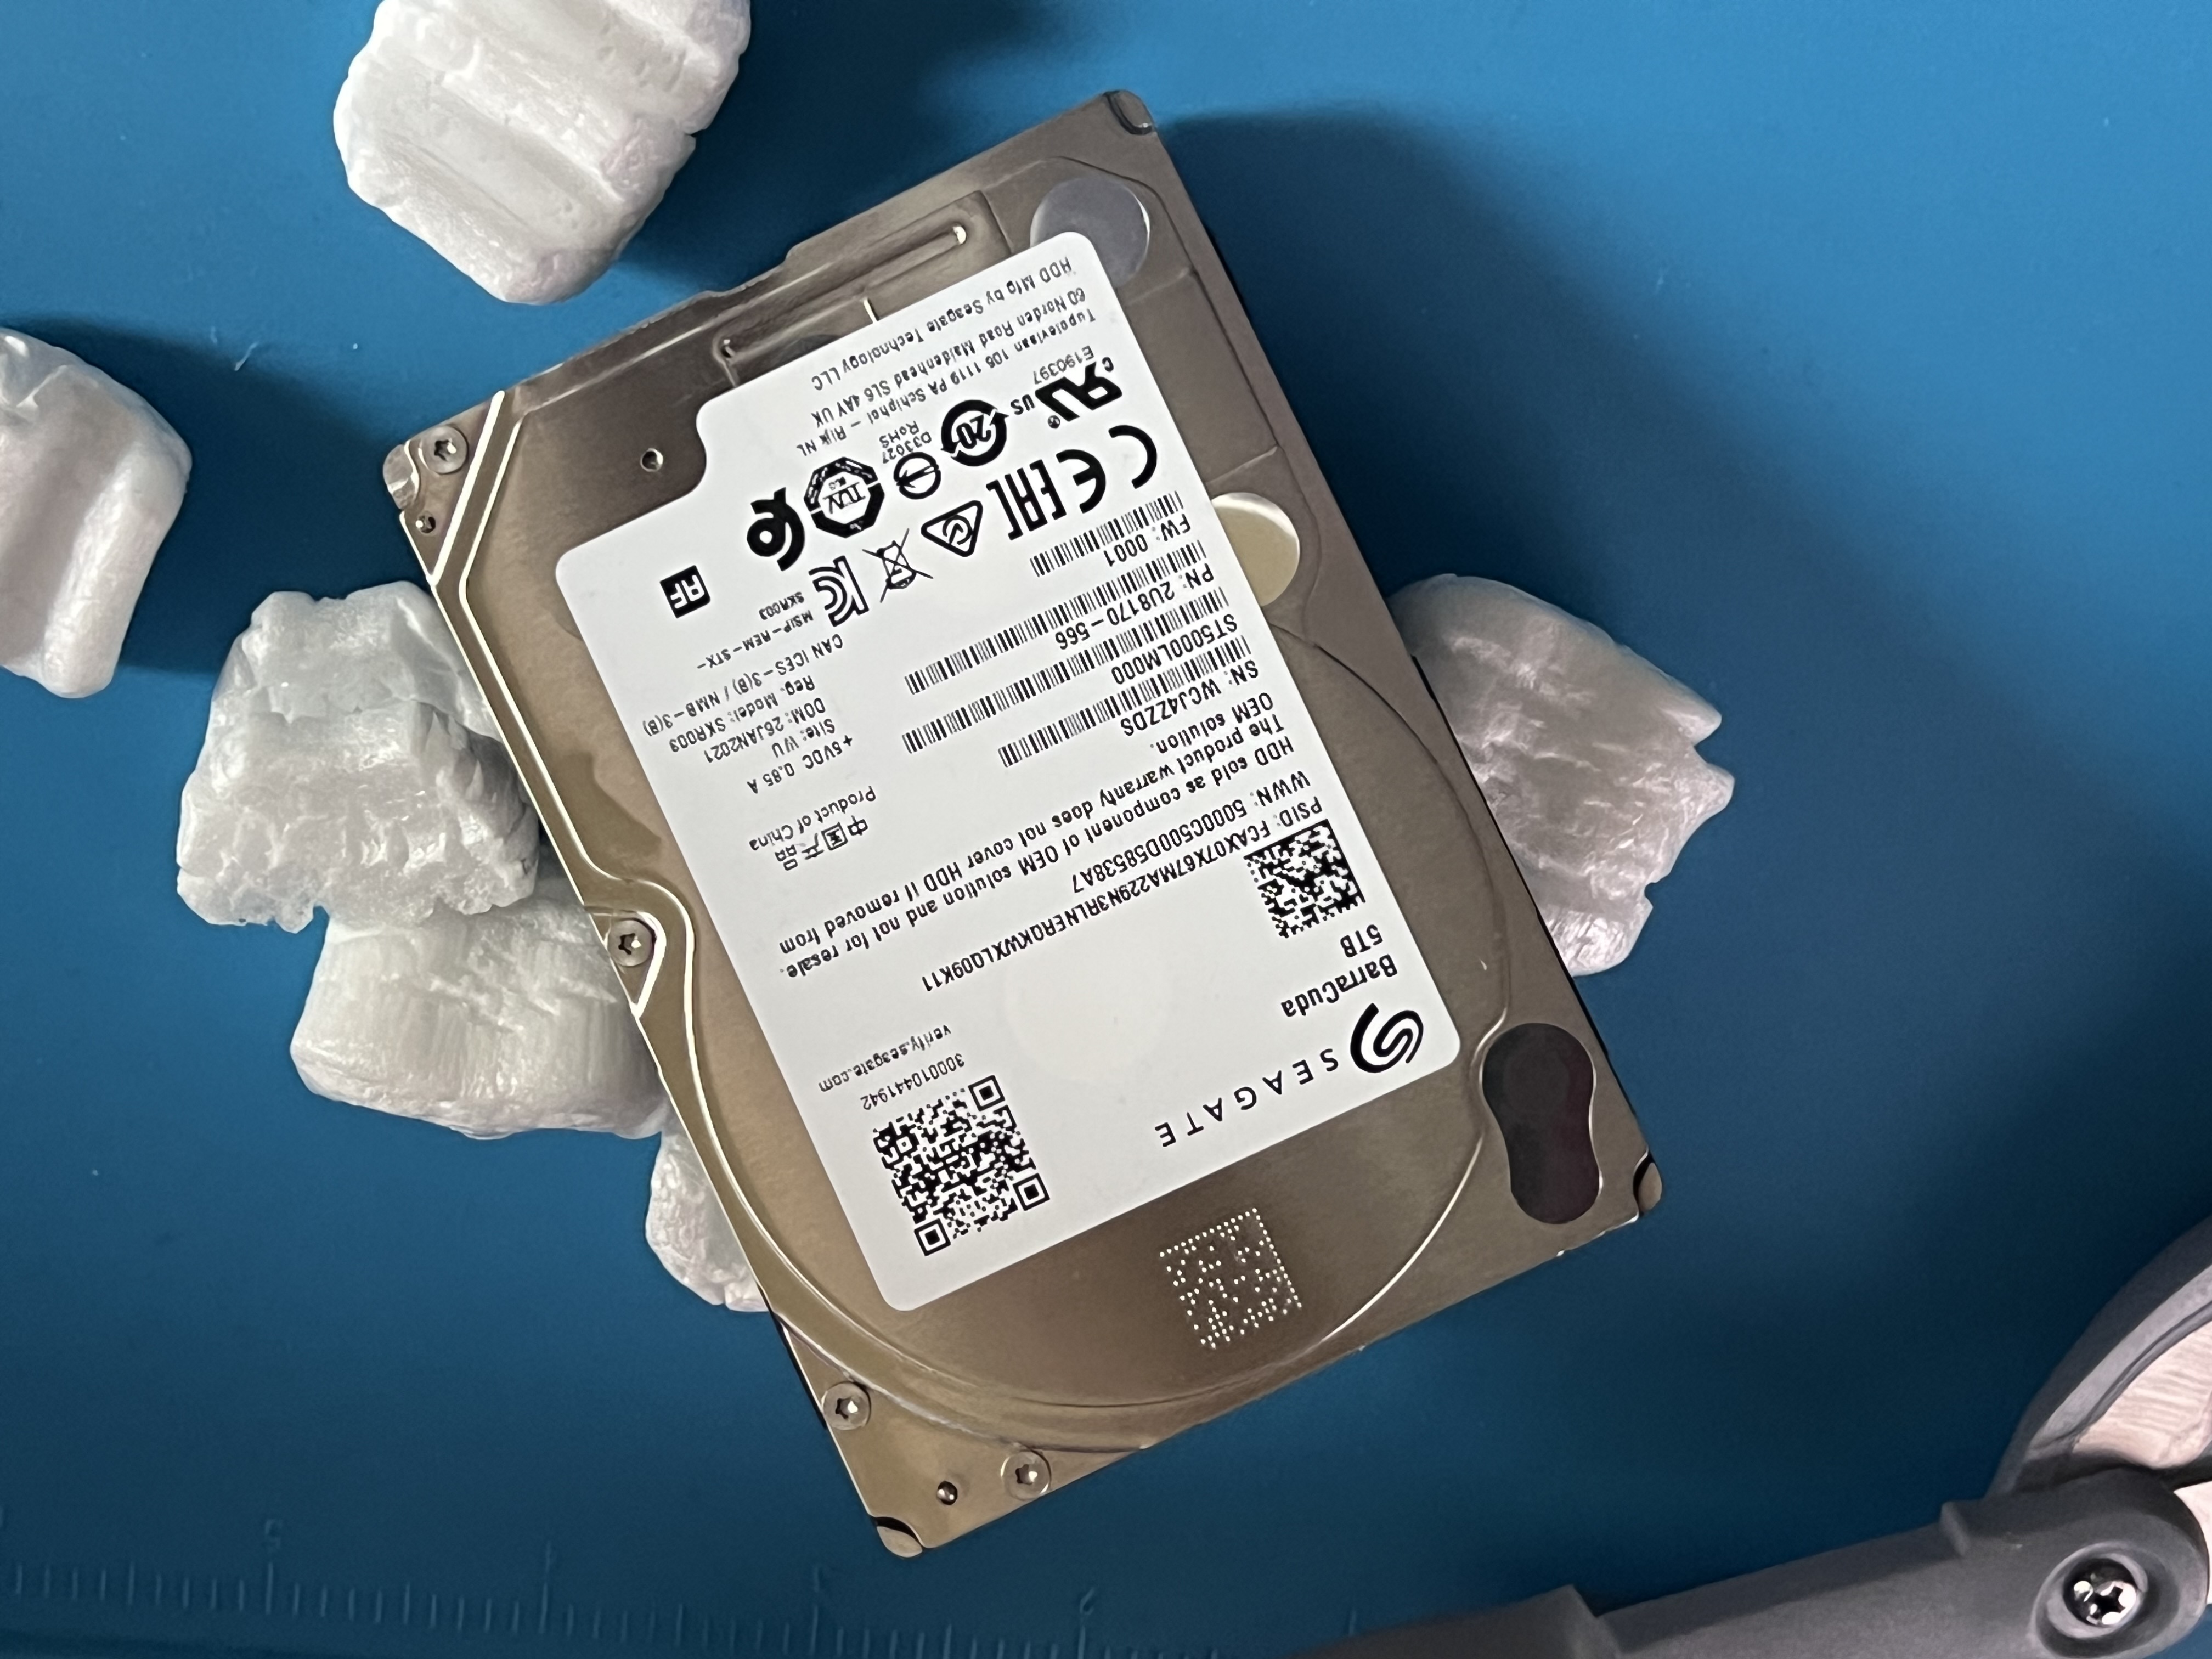
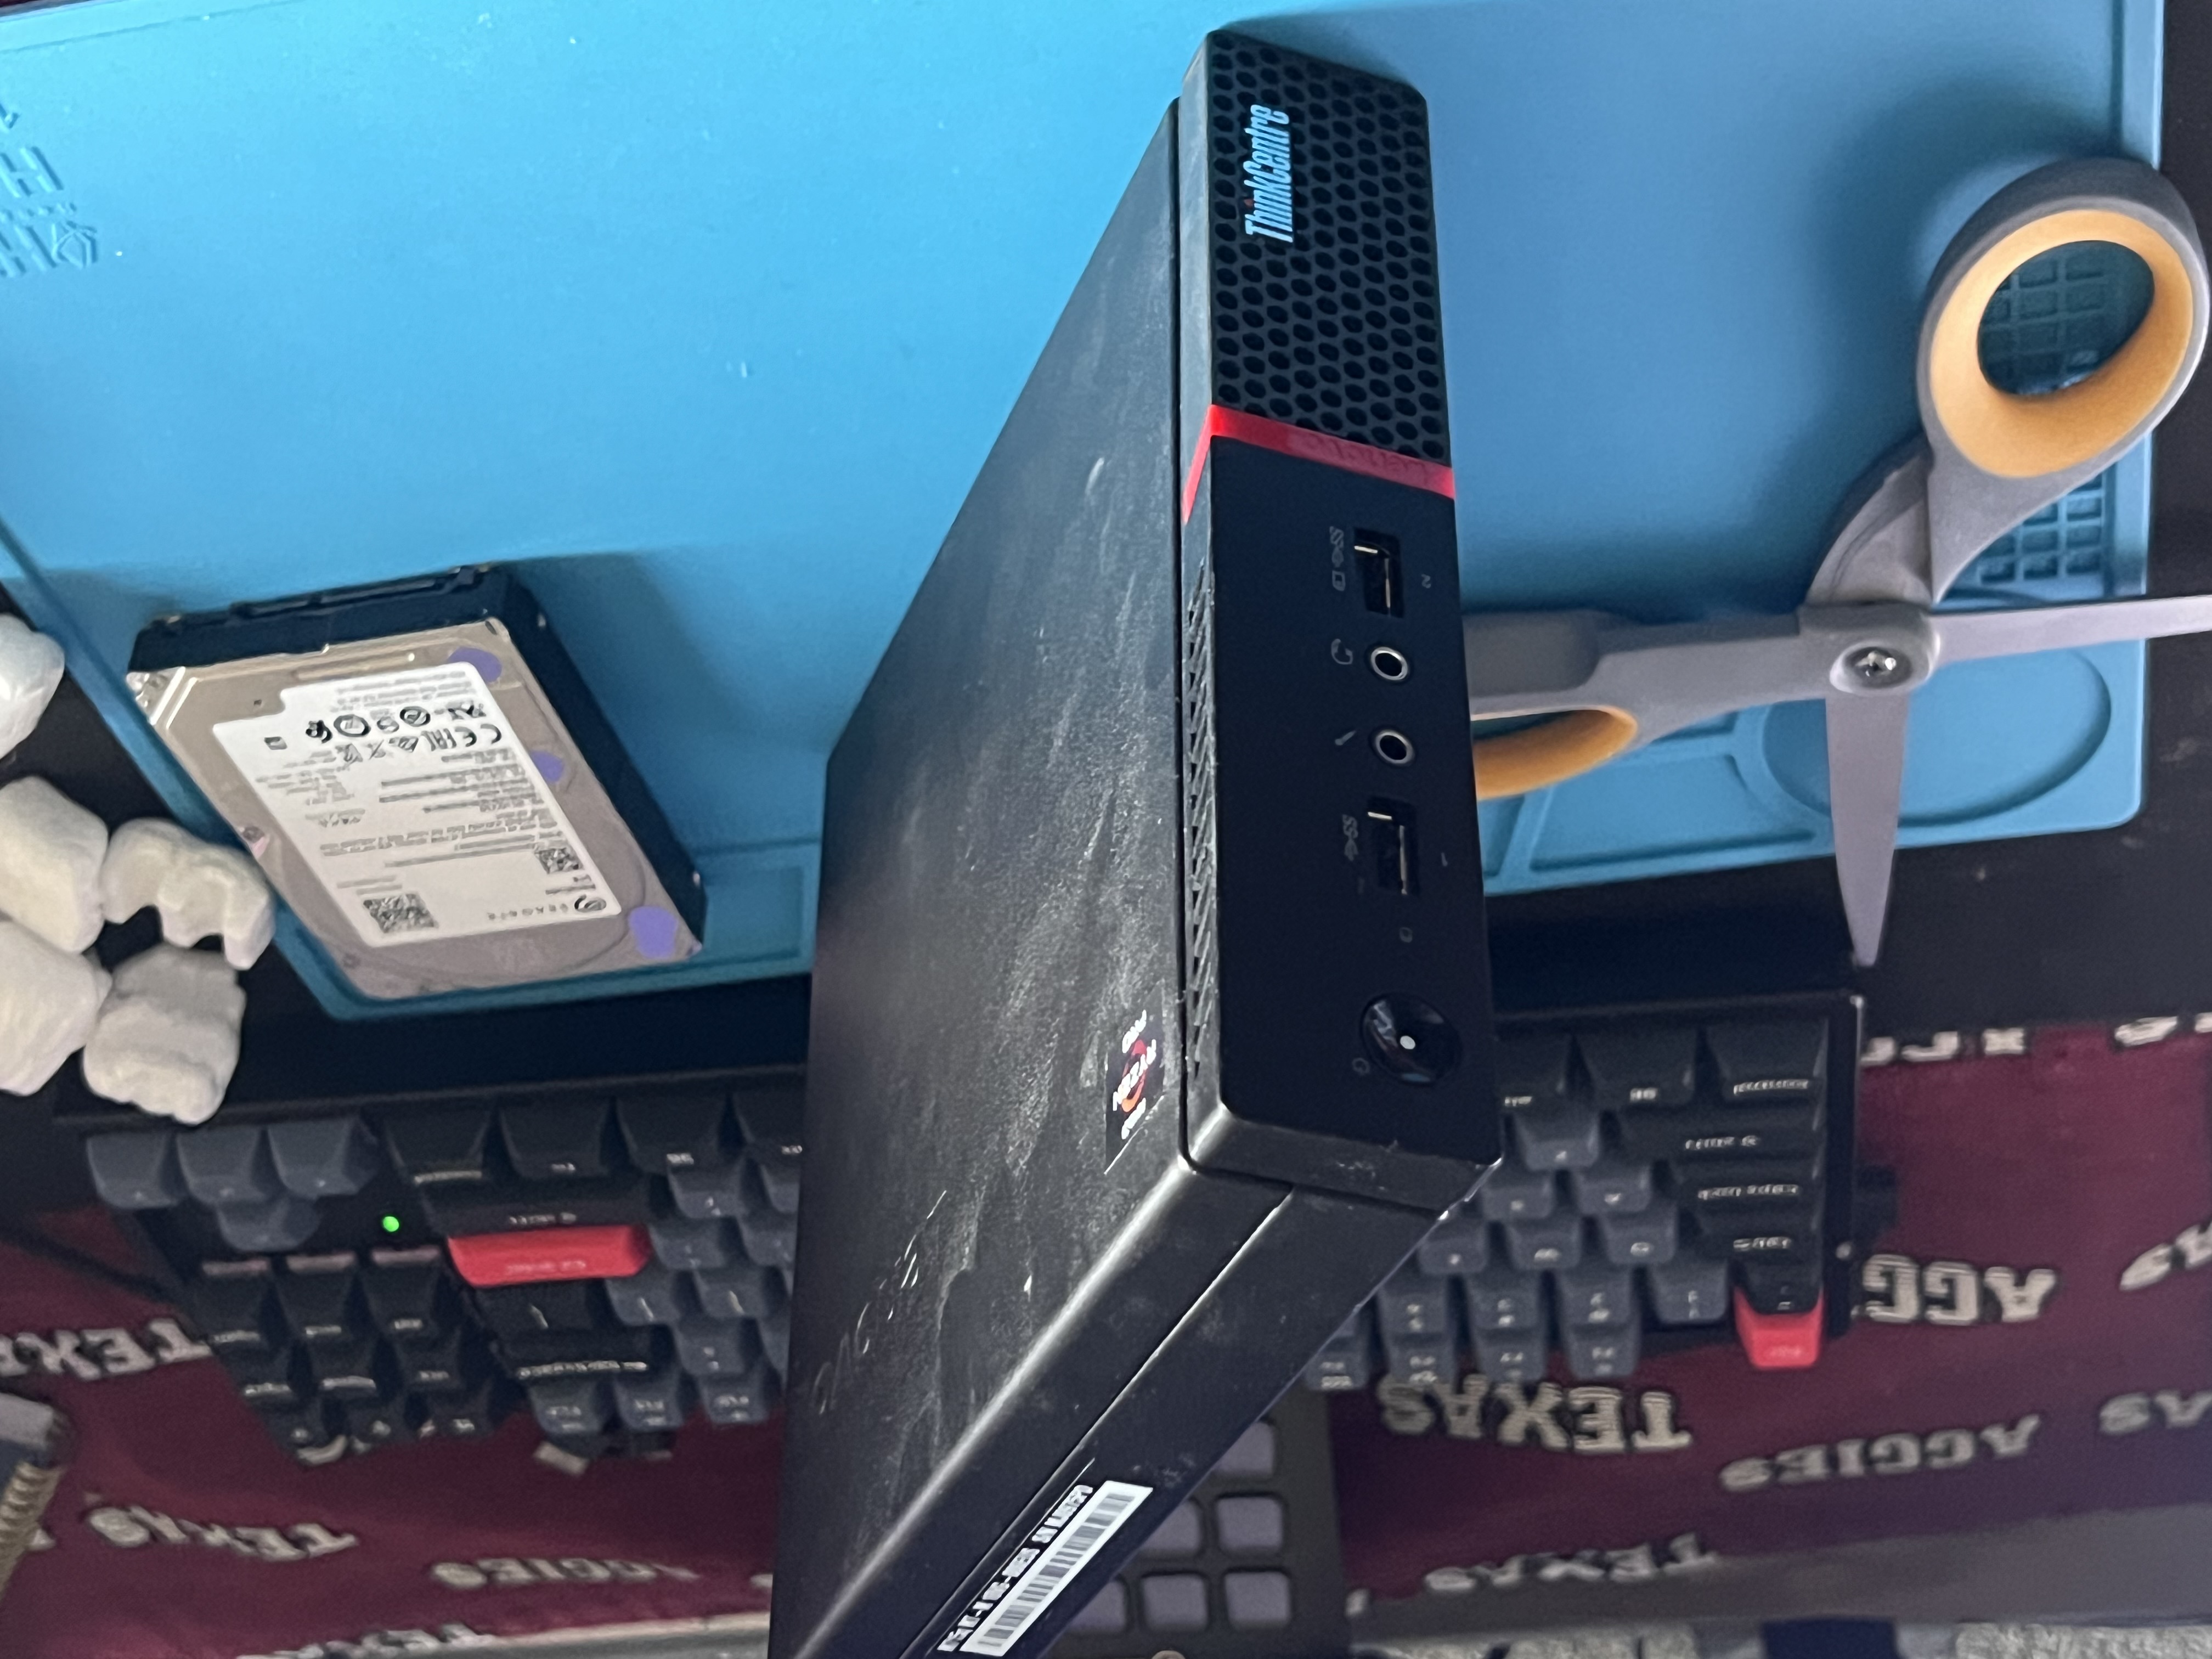
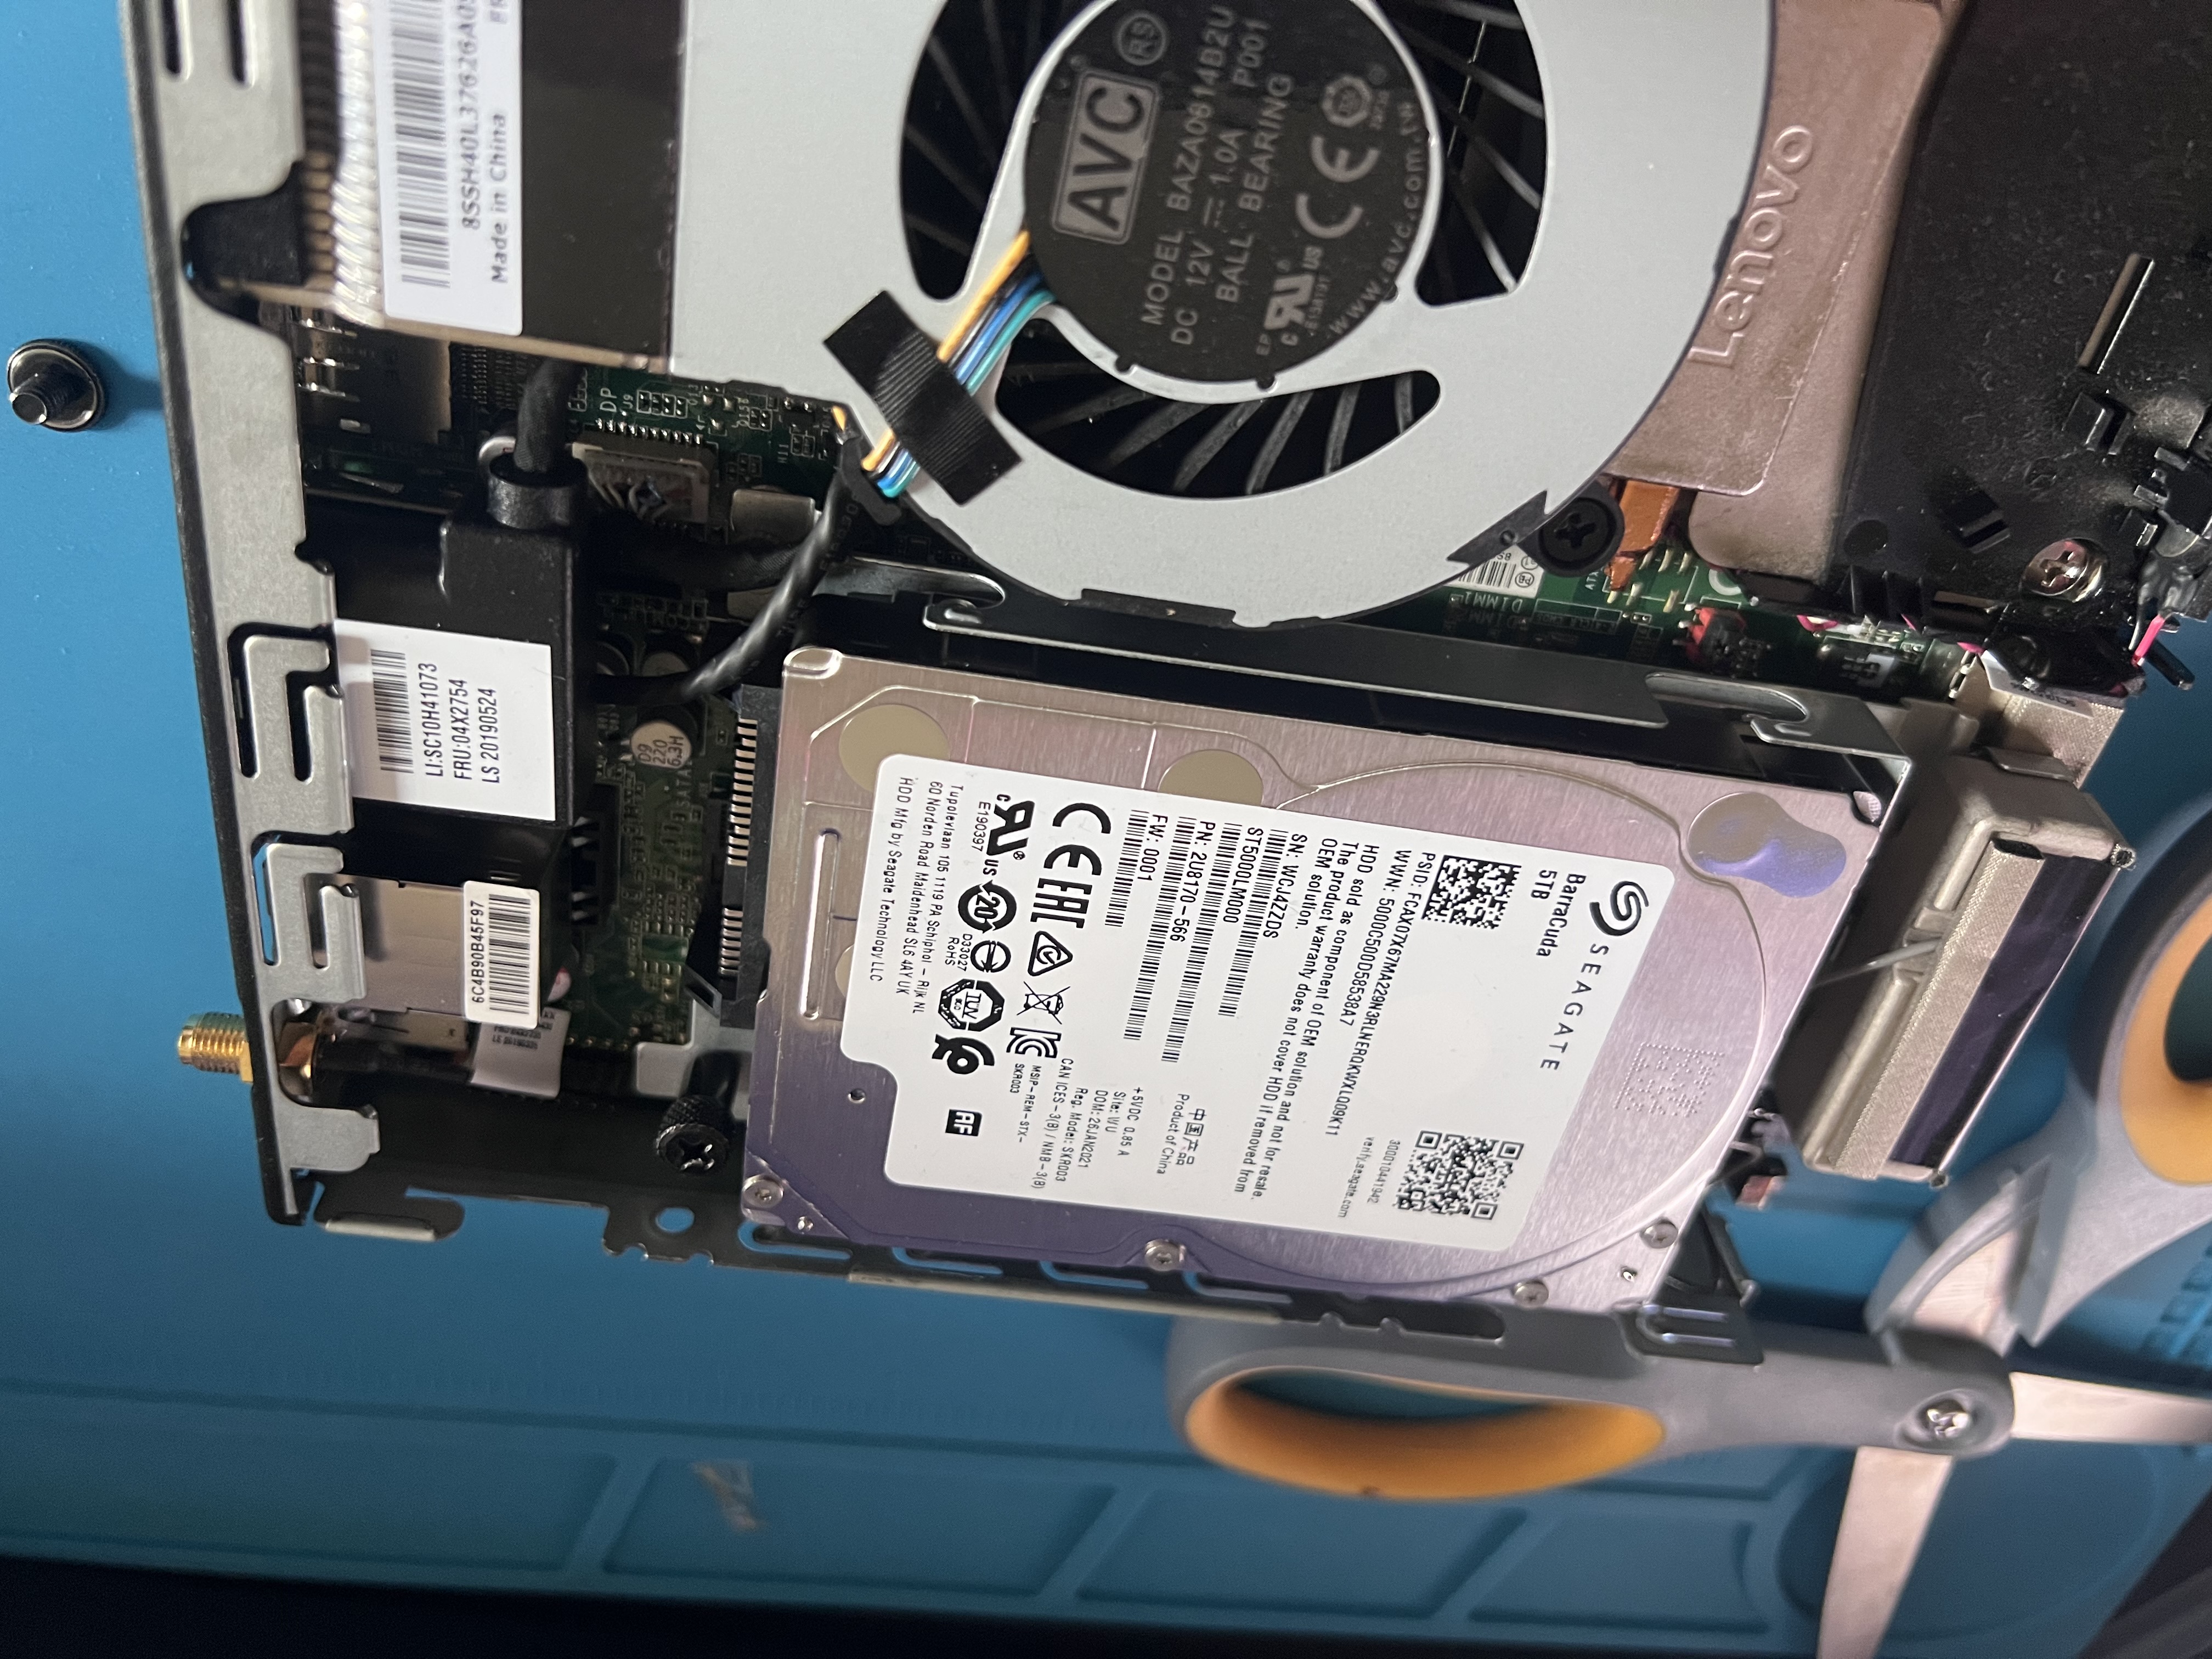
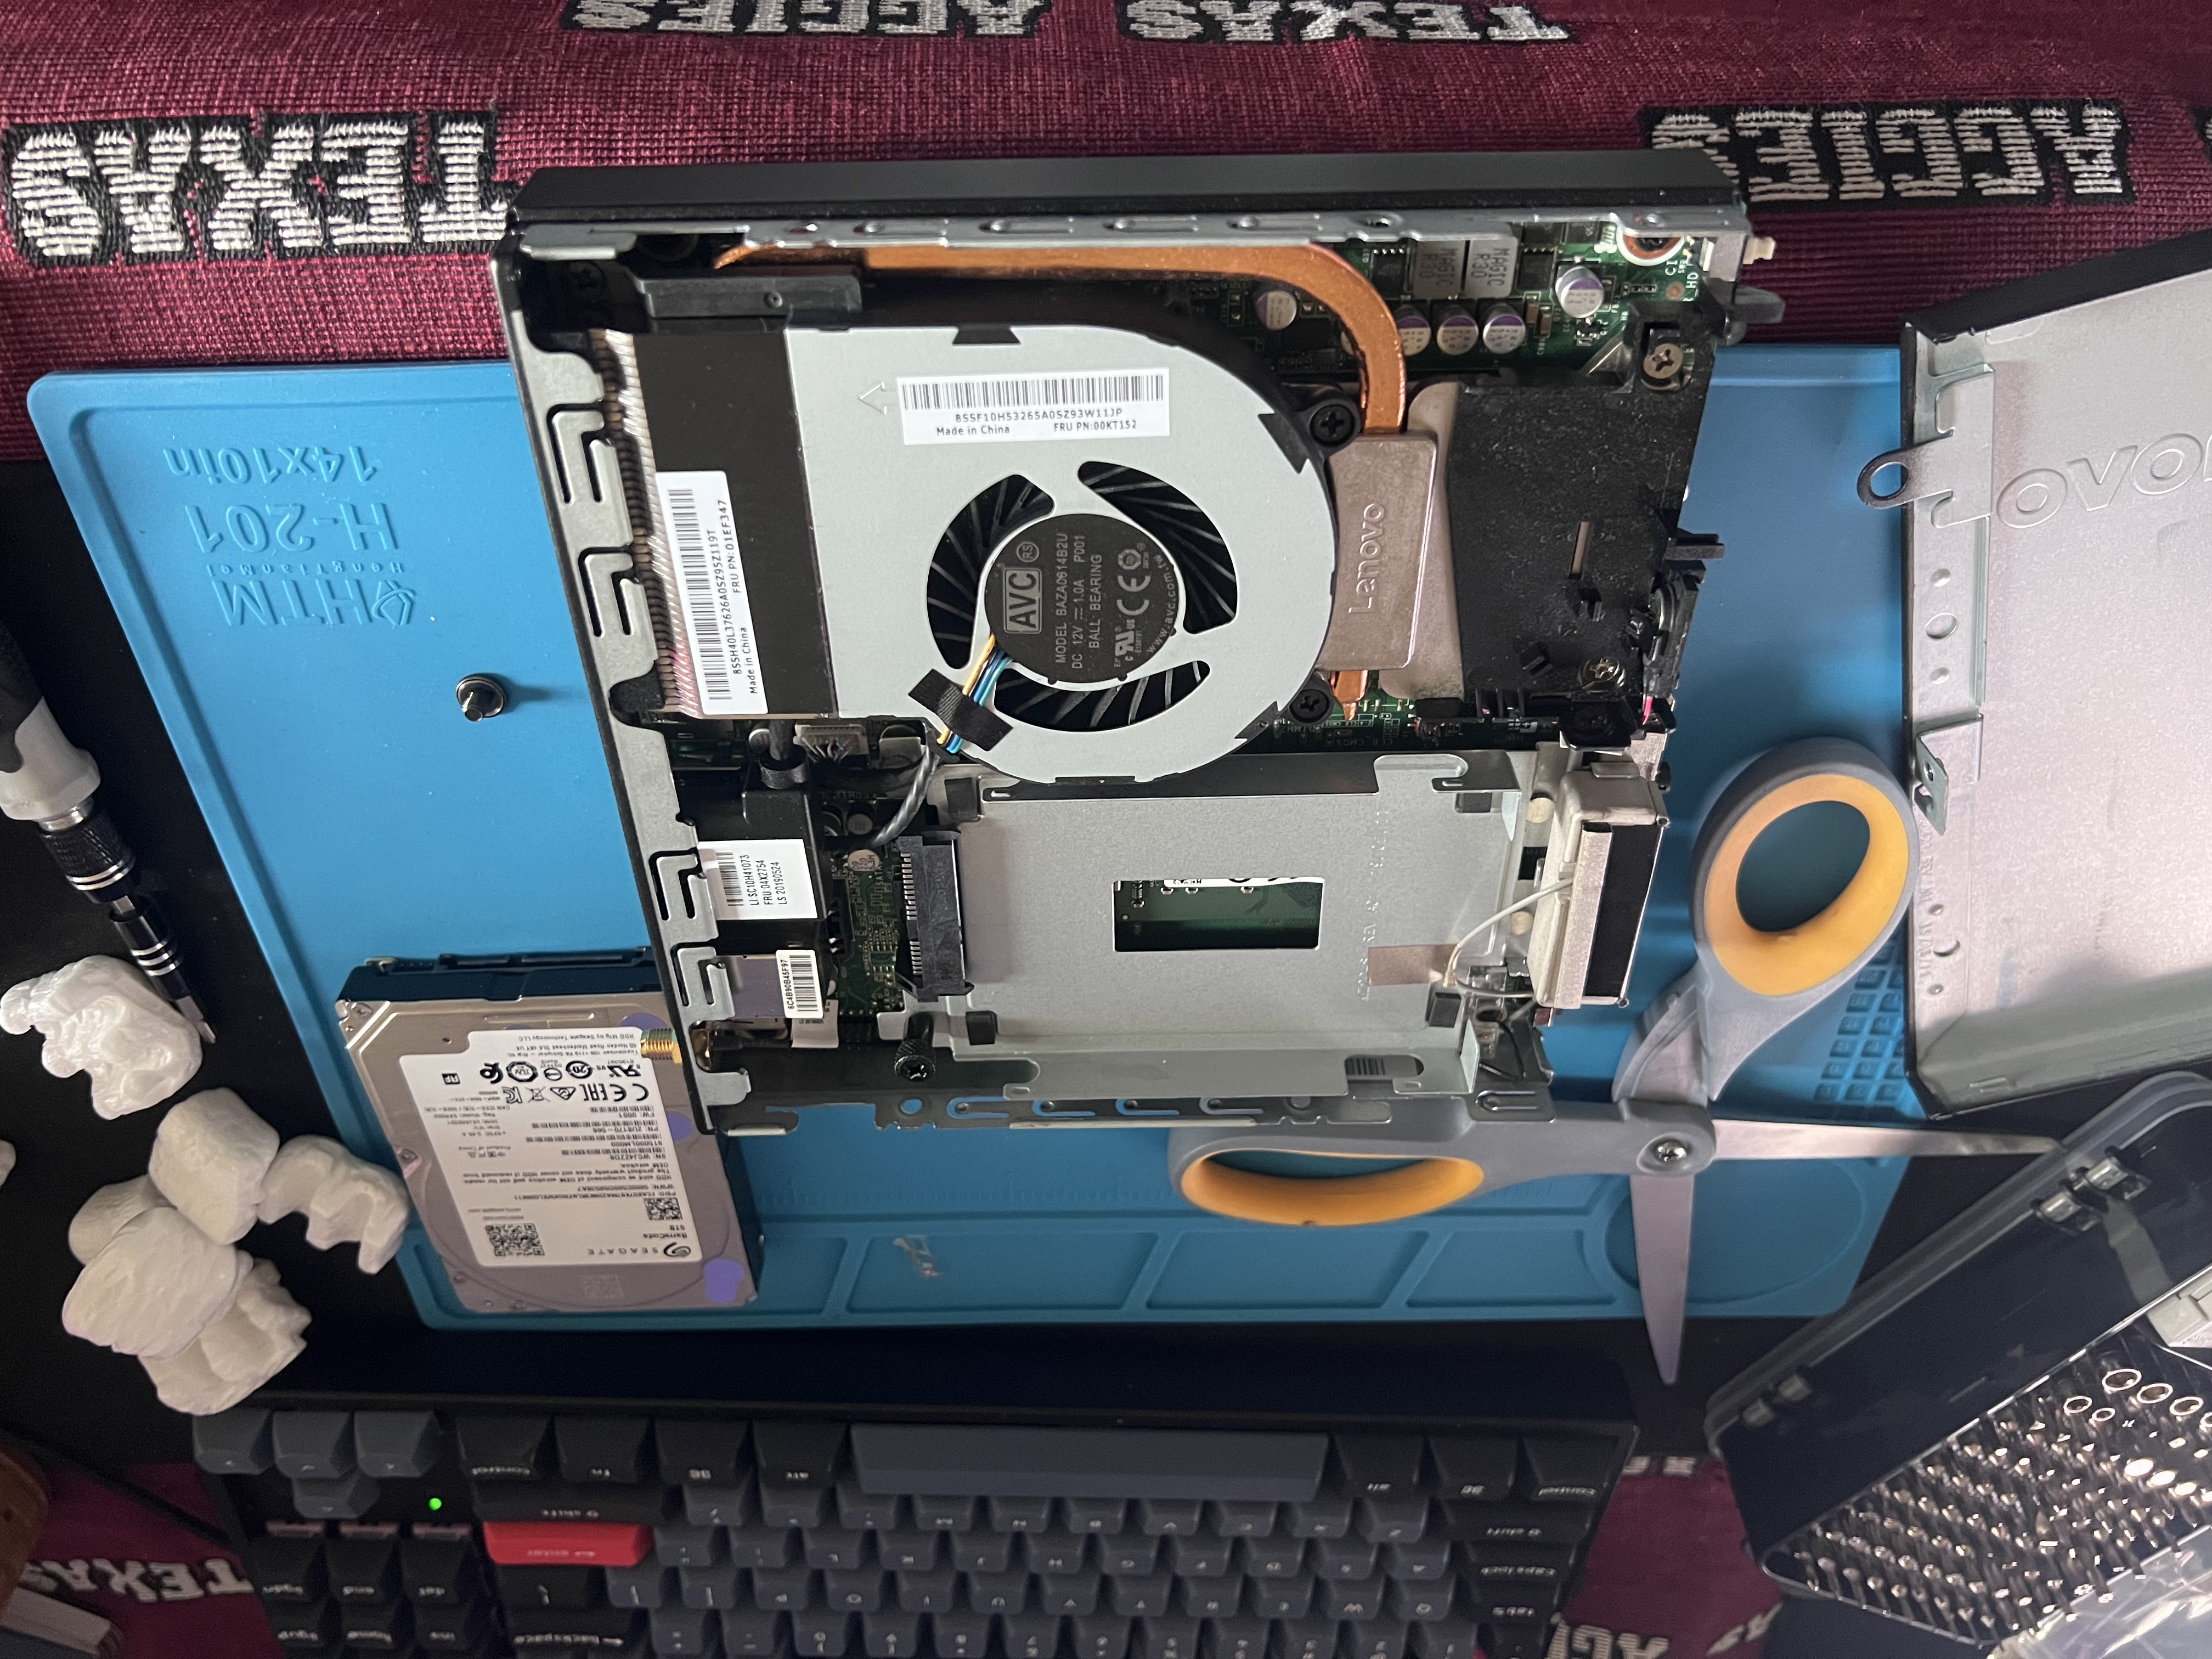
I want to store family photos, and I have a server already, so I think it's about time to beef up this server and give it a huge amount of storage so that I don't have to worry about the storage ever filling up or me having to expand it in the future. So, during this Black Friday, I decided to pick up a 5 terabyte Seagate drive for about $50, and this should be able to store all of our photos for a long time from my entire family. This also gives me an excuse to migrate off of Google Photos and use something open source.
Alright now that we got the drive installed lets go ahead and stop all the running containers so I can go ahead and move the data over!
shlok@kiwi:~$ sudo docker stop $(sudo docker ps -a -q)
b40955a2e9c9
3cdb2a73c70f
6141aeb113a4
5fed0bc7ab04
ae3edfffa660
1f337379a8d0
15c486847f31
d6841b81c64b
113e1dd6abff
467944833a59
9b9e5c061a75
104848dd8921
4d53e9f6a64b
4989e5fa81f1
8412e0a6869b
ce58540269a9
8b85be76a7e7
a31056391775
9a9f91bc1e3d
ff684d991e70oops! let's actually make sure that the drive exists lol. 4.5 TB of usable storage is super juicy!
shlok@kiwi:~$ lsblk
NAME MAJ:MIN RM SIZE RO TYPE MOUNTPOINTS
sda 8:0 0 4.5T 0 disk
sdb 8:16 0 231G 0 disk
├─sdb1 8:17 0 1G 0 part /boot/efi
├─sdb2 8:18 0 2G 0 part /boot
└─sdb3 8:19 0 228G 0 part
└─ubuntu--vg-ubuntu--lv 252:0 0 228G 0 lvm /
sdc 8:32 0 1.8T 0 disk
└─sdc1 8:33 0 1.8T 0 part /home/shlok/usb1I used to just store all my data on a USB drive, not only is that a waste of a USB drive, but I have to look at it dangling out of the computer, and it makes future transport of this powerhouse really difficult. So during this Black Friday I splurged on a 5TB hard drive from Seagate, and It's now time to set this guy up!
Make the drive GPT
Apparently MBR can't go past 2TB which is a big nono for me as that would be a waste of space so lets run GNU Parted and change that.
shlok@kiwi:~$ sudo parted /dev/sda
(parted) mklabel gpt
(parted) quitAlright that was painless!
Create a partition
To me, partitions are terrifying; one wrong move and you could wipe out your entire computer and operating system without a single trace left behind. It is technically still possible to retrieve sensitive data like images and files, but I wouldn't count on it. It's better to be very careful when messing around with partitions. If you follow what I'm doing, make 100% sure that you are editing the correct drive. Heck, even unplug all extra drives to reduce the chances of goofing up. Otherwise, you may be in for a rude awakening.
sudo fdisk /dev/sda # make 100% sure this is the right drive!
Welcome to fdisk (util-linux 2.39.3).
Changes will remain in memory only, until you decide to write them.
Be careful before using the write command.
Command (m for help): n
Partition number (1-128, default 1): # just hit enter
First sector (34-9767541134, default 2048): # just hit enter
Last sector, +/-sectors or +/-size{K,M,G,T,P} (2048-9767541134, default 9767540735): # just hit enter
Created a new partition 1 of type 'Linux filesystem' and of size 4.5 TiB.
Command (m for help): wNow though we have LIFE!
shlok@kiwi:~$ lsblk
NAME MAJ:MIN RM SIZE RO TYPE MOUNTPOINTS
sda 8:0 0 4.5T 0 disk
└─sda1 8:1 0 4.5T 0 partDrive Mounting
Now I just gotta mount this drive to my system, and it should be good to go. I am using this as a replacement to my USB drive, so I'm going to remount my USB drive as usb2 then mount my main drive as usb1 and cp all the files over that way I don't have to change anything in docker.
Step 1 is to use this command to get the UUID of your drives
ls -al /dev/disk/by-uuid/
drwxr-xr-x 2 root root 120 Dec 6 19:53 .
drwxr-xr-x 9 root root 180 Dec 6 19:53 ..
lrwxrwxrwx 1 root root 10 Dec 6 19:53 ~~~~~REDACTED DRIVE UUID~~~~~~ -> ../../sdb2
lrwxrwxrwx 1 root root 10 Dec 6 19:53 ~~~~~REDACTED DRIVE UUID~~~~~~ -> ../../dm-0
lrwxrwxrwx 1 root root 10 Dec 6 19:53 ~~~~~REDACTED DRIVE UUID~~~~~~ -> ../../sdb1
lrwxrwxrwx 1 root root 10 Dec 6 19:53 ~~~~~REDACTED DRIVE UUID~~~~~~ -> ../../sdc1Then the next step is realizing that you didn't put a filesystem on the drive so you run
sudo mkfs.ext4 /dev/sda1to add a filesystem to it. Good ol ext4...
then you should see
shlok@kiwi:~$ ls -al /dev/disk/by-uuid/
total 0
drwxr-xr-x 2 root root 140 Dec 6 20:27 .
drwxr-xr-x 9 root root 180 Dec 6 19:53 ..
lrwxrwxrwx 1 root root 10 Dec 6 19:53 ~~~~~REDACTED DRIVE UUID~~~~~~ -> ../../sdb2
lrwxrwxrwx 1 root root 10 Dec 6 19:53 ~~~~~REDACTED DRIVE UUID~~~~~~ -> ../../dm-0
lrwxrwxrwx 1 root root 10 Dec 6 20:27 ~~~~~REDACTED GOOD DRIVE UUID~~~~~~ -> ../../sda1
lrwxrwxrwx 1 root root 10 Dec 6 19:53 ~~~~~REDACTED DRIVE UUID~~~~~~ -> ../../sdb1
lrwxrwxrwx 1 root root 10 Dec 6 19:53 ~~~~~REDACTED DRIVE UUID~~~~~~ -> ../../sdc1So my drive is here now!
lrwxrwxrwx 1 root root 10 Dec 6 20:27 ~~~~~REDACTED GOOD DRIVE UUID~~~~~~ -> ../../sda1Lets mount the drive!
It would be stupid to have to remount every single time the system reboots so let's make use of editing the fstab file
sudo nano /etc/fstabYou should see something like this
# /etc/fstab: static file system information.
#
# Use 'blkid' to print the universally unique identifier for a
# device; this may be used with UUID= as a more robust way to name devices
# that works even if disks are added and removed. See fstab(5).
#
# <file system> <mount point> <type> <options> <dump> <pass>
# / was on /dev/ubuntu-vg/ubuntu-lv during curtin installation
~~~~~ REDACTED ~~~~~~ / ext4 defaults 0 1
# /boot was on /dev/sda2 during curtin installation
~~~~~REDACTED DRIVE UUID~~~~~~ /boot ext4 defaults 0 1
# /boot/efi was on /dev/sda1 during curtin installation
~~~~~REDACTED DRIVE UUID~~~~~~ /boot/efi vfat defaults 0 1
/swap.img none swap sw 0 0
# Internal drive for homelab
UUID=~~~~~REDACTED GOOD DRIVE UUID~~~~~~ /home/shlok/usb1 ext4 defaults 0 0
# USB drive for the homelab data thing
UUID=~~~~~REDACTED DRIVE UUID~~~~~~ /home/shlok/usb2 ext4 defaults 0 0
****These are the lines we care about. so pretty much just follow the format
# Internal drive for homelab
UUID=~~~~~DRIVE ✨~~~~~~ /home/shlok/usb1 ext4 defaults 0 0
# USB drive for the homelab data thing
UUID=~~~~~DRIVE 🐶~~~~~~ /home/shlok/usb2 ext4 defaults 0 0So I took the 🐶 drive and moved that from usb1 -> usb2 and added a new entry for the ✨ to mount to that usb1 spot. Save and exit, and reboot the system and the drives should be mounted to the correct place!
Almost there!
After reboot all thats left is to move the files over with something called rsync
sudo rsync -av /home/shlok/usb2 /home/shlok/usb1And Done! all my stuff is back online and I am good to go with internal storage. Now its time to setup Immich.
